Monday, December 31, 2012

Decorative Organization

I'm celebrating New Year's by making pretty things for my craft room.  We're quiet folk.  My daughter and I have the t.v. playing the Dick Clark special right now, but we'll probably switch back to Snow 2 on Netflix now that the ball has dropped.

While watching the movie, I've been crafting as well.  The Fantabulous Cricut Challenge Blog has an organization challenge running and DL.ART is doing an anything goes challenge.  I suppose I could also do a second post for Use it Tuesday, too.  I might just do that.  I'll include how my project fits into each of their challenges at the end.

Let me start by telling you about my husband's 50th birthday party last March.  He loves John Deere so I bought these perfectly colored green and yellow buckets at Target.  They were in the bargain bin for $2.00 each.  I used my Eclips to cut out an svg of a tractor in black and then used green and yellow paper to make photo holders.  I glued them to small dowel rods and stuck the dowel rods into the buckets.  The pictures are not glued on.  They came out of my mom-in-law's photo albums and we wanted to make sure they wouldn't be damaged and would make it back to her albums.  

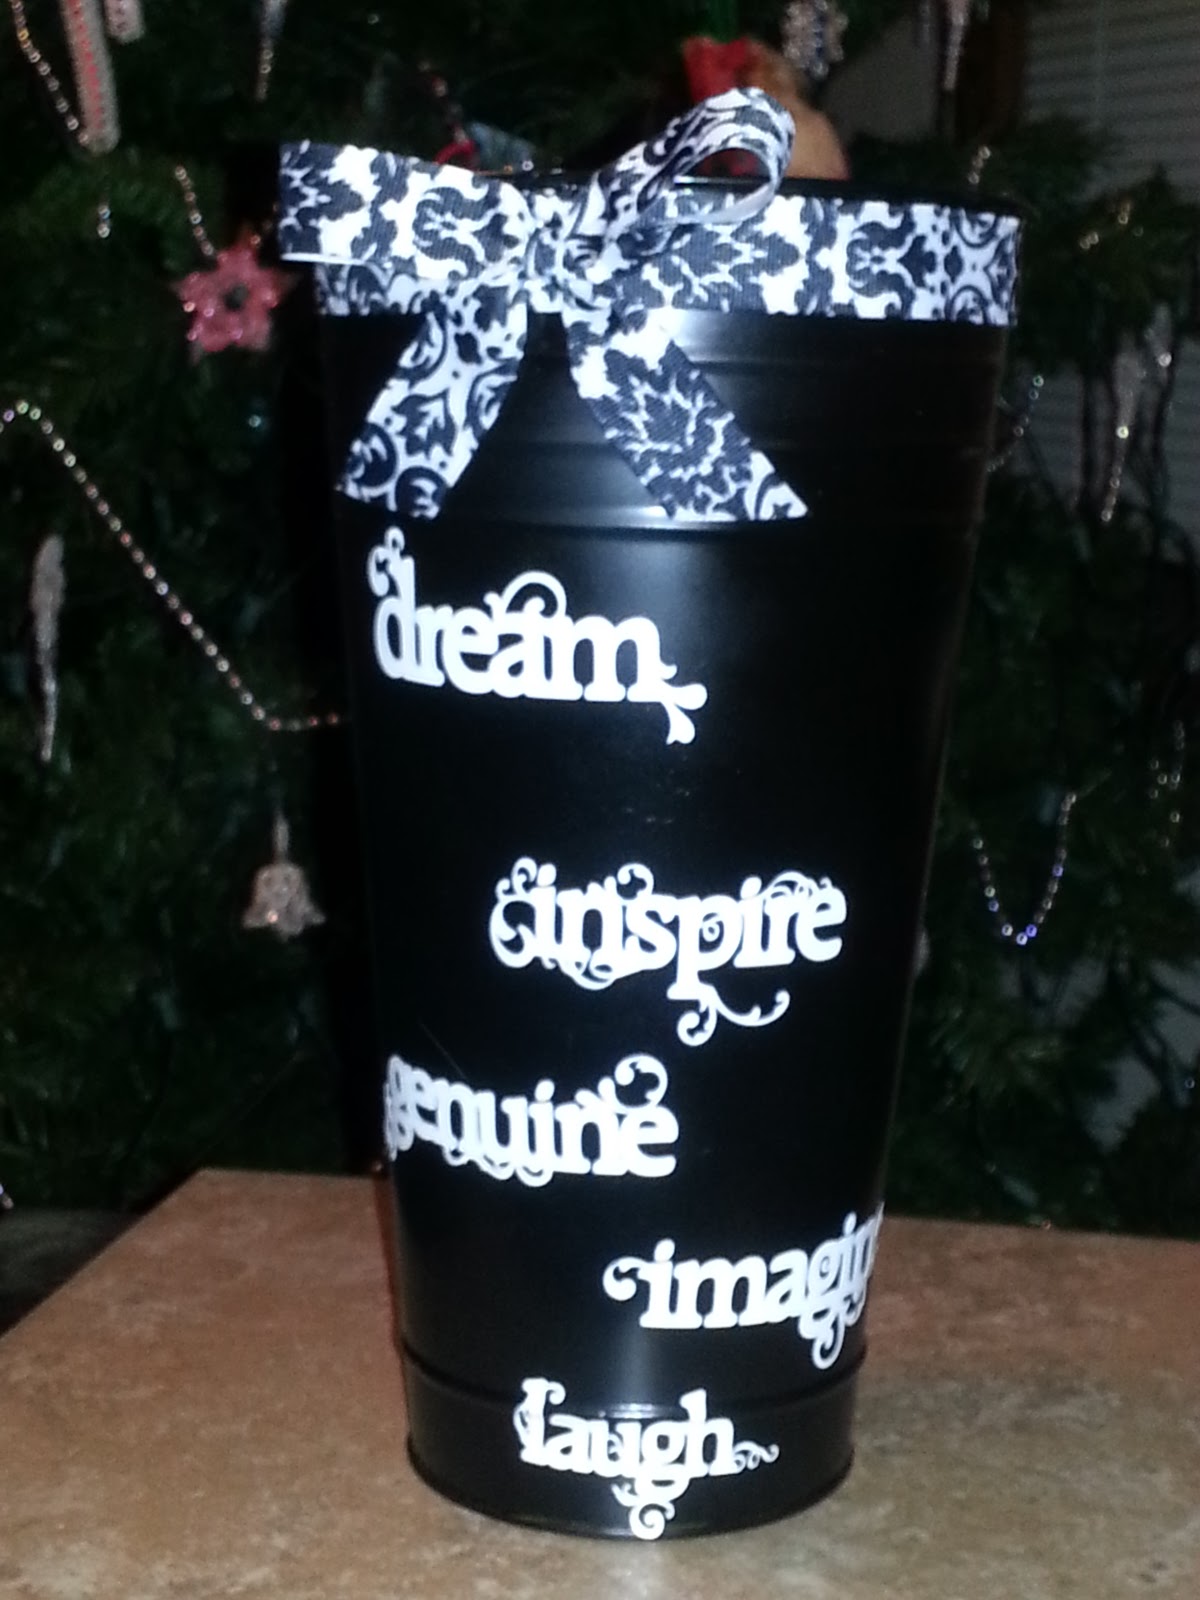
Here is a picture of one of them:

There were two short, fat green ones like this one and a tall, skinny yellow one.  Here they are now painted black with black and white ribbon and white vinyl.  I'm going to use them to store things that I commonly use but don't want just laying around.  I have a lot of my adhesive in one of them, but I think I'm going to have to separate it into two-maybe one for liquid adhesive and the other for dimensionals/pop-dots/tape runners.


I used black Fusion spray paint to paint over the green and yellow on the buckets.  I didn't even have to sand or prime or anything.  It covered greatI had to do two coats, but only because only of the ridges.  (The bucket above is supposed to say "hope" at the top, but the ribbon is covering part of the 'h'.  ha ha!)


I used E6000 to adhere the ribbon to the buckets.  I've never used it before, but I've heard that it's great for projects involving metal so I bought some.  I've been afraid to use it so it's been sitting in my craft room for over a year.  I saw a video on Above Rubies Studio this morning that convinced me to get it out and try it.  It's not so bad.  I was worried about the fumes (I have asthma.), but it wasn't that bad.  No wheezing or anything.  Yay!  :)

I made the bow using a bow template that I made after watching this YouTube video.  I just hot glued the bows onto the ribbon on the buckets.
 

I used the Wall Decor and More cartridge to cut my words.  I didn't have to do anything special to them.  I used my Gypsy just so that I could get them all lined up on the mat.  They were already set to 1" in height so I just left them.  That turned out to be the perfect height.  By the way, using my Gypsy also allowed me to pause the cut when I saw that the vinyl was tearing on some of the more intricate parts like what happened with my Eclips the other day.  I did my little trick with the Goo Gone and continued the cut with no more problems.  Note to self:  Do that first and then cut.  :)
 

Can you have too much adhesive?  I don't think so.  LOL!

  • Anything goes
Fantabulous Cricut Get Organized Cricut Crawl
  • Getting organized for 2013
  • Cricut cartridge used:  Wall Decor and More
Use it Tuesday  (I hope they don't mind me posting twice.)
  • Anything goes-project has to include hoarded supplies
    • Green and yellow buckets left over from last March
    • white vinyl in craft room for about a year
    • Wall Decor and More-hasn't been used in almost two years
    • ribbon and E6000 bought over a year ago and never used    


Why I Love my Gypsy!

I want to start off by saying that I hope everyone has a safe and happy New Year's Eve.  I'm looking forward to lots of fun crafting this upcoming year!  I appreciate everyone who has come to visit my blog and an extra thank you to everyone who has left comments.  It's like Christmas morning everytime I get an email notification that someone has left a comment!

I'm linking this project on the Use it Tuesday blog.  To be able to link to that blog, you have to use something that has been sitting around for some time and you're just getting to using it.  I think they mean actual physical craft supplies, but I'm going to cheat a little.  My Gypsy has been sorely neglected since I got my Eclips last year so I decided to dust her off (I call her Esmerelda, by the way.  I name all of my electronic devices.  Weird, I know.......what can I say?) and design something for my daughter.  You don't have to have a Gypsy for this project.  You can do this is in the Cricut Craftroom as well.  You just have to uplink your cartridges, which I'm not willing to do just yet.  I will over summer break when I have more time.  In the meantime, I use the Craftroom to design where it's nice and big, then I note the sizes for everything and quickly re-do the design in my Gypsy.  It doesn't take long at all when you know exactly what cut in what size from which cartridge.

Actually, the vinyl has been sitting in my craft room for almost a year now.  The white sheet was on top and did have to literally be dusted off in order for me to cut it so I guess technically this isn't a "cheat" link.  ;)  Whew!  I feel much better about it now.  LOL!

Anyway, the latest challenge is an "anything goes" challenge so go and link up anything you've done that involved using any supplies that have been around awhile.  You just have to be thinking about your crafting goals for 2013.  One of my goals is decorate my life with my craft supplies.  I already do a lot of crafts to give away, but once they're gone, I have nothing but supplies left for more projects.  I want to have some of the end results around me to enjoy as well.  :)

Here is my project.  I made a decal with white glossy vinyl for the back window of my daughter's car.  I used the Old West cartridge for this project. 

 The reason I had to use Esmerelda on this project is because the original file comes with flowers instead of the horse and horseshoes.


Here is what the cartridge handbook looks like in case you're looking for it. I can't wait to do something with the rope and wood-board letters!  :)
 

The running horse is found on the "A" page.  I didn't use the layer pieces-just cut the horse.


The horseshoe came from the "H" page.


I just deleted the flowers from the "Country Girl" image and added the horse and two of the horseshoes (welded together) in their place.  Voilà!  Happy girl!
 

Not one to waste leftovers........we took this framed mirror we had found at the flea market many years ago (I think it was a vanity tray that had a wall hanger added to it at some point.) and put the left over letters/icons on it.  It is now hanging in the country girl's bedroom.  I love two-in-one projects!
 

Saturday, December 29, 2012

Dressed up Jars with Homemade Mixes

I feel like I have really accomplished something today!  I found this great blog on Pinterest (What are the chances, right? lol) that has these mix recipes for things I use store-bought mixes all the time.  Bonus idea:  she keeps her mixes in these jars I've been buying from Hobby Lobby on 50% sales.

The first mix I put together is the corn bread mix.  Then,while a batch was baking up to go with our soup this evening, I did the pancake mix and the quick mix (aka: Bisquick).  Now, I wasn't able to follow her recipes exactly.  I wasn't able to get unbleached flour.  We live in an area with limited access to some ingredients and we were sold out of unbleached flour.  All those holiday bakers!  Harumph!  Just kidding........  By the way, I added a minced jalapeno pepper to the corn meal batter before baking it.  I think I'll add two next time.  We could taste it, but it wasn't quite enough for our taste.

The blog I found the recipes at is called Heart, Hands, Home, and here are my versions of the jars with mixes.  (The cocoa mix is store-bought, but I have a mix recipe from another blog I'm going to try when this is gone.)  My last mix will be the brownie mix.  I need another jar........

Anywho.....sorry about the lighting

 
I used eCAL and my Sizzix Eclips to make the labels.  I got the froo-froo swirly cut file from My Vinyl Designer.  It's in one of their freeby files.  I think it was freebie number 3.
 

I was so frustrated when I was cutting these.  I ended up using three sheets of black vinyl before I stumbled on this great tipI'll get to that in a minute.  I used a new blade, but after cutting two of these, the blade kept tearing through the swirlies on the others.  I tried everything I could think of but had to keep pulling pieces of vinyl off the blade before it occurred to me that the adhesive from the vinyl might be building up on the blade.  I decided to smear Goo Gone on to the blade before cutting again.  I already had my machine set to 1 pressure, 1 speed, and 2 depth, which is the Eclips' version of the "kiss cut" for vinyl (not the preset settings in eCAL), but it wasn't until after I used the Goo Gone that the cuts came out perfect.  Good to know. 
 

I decorated the lids with some pretty paper I got from Walmart to do my wedding album in.  I also glued one of those little library book pockets to the back of each jar to keep the recipes in and decorated those with the same pretty paper.


Two topics for the price of one:  I baked the cornbread in a dish I etched my initials into.  I chose several dishes that I typically take to potlucks/church dinners and etched my initials into one and the words: faith, believe, hope, and love onto the others.  This way I have a variety of dishes to take and I always know which dish is mine without having to put a sticker on it.  


I've done several with initials as gifts, too.  They go over really well for bridal showers (Brides love to see their future initials etched into a casserole dish).

Thursday, December 27, 2012

Easy Craft Room Decor

I'm working on organizing and decorating my craft room so that I can get my crafty-station out of the living room.  My colors are black/white and aqua.  I love, love, love those colors together.  I'll take pictures of all the decor projects I have done when I get them hung/placed where I want them.  In the meantime, I wanted to share a super quick project I just did with my craft magazine holders.

Here is one I got from Walmart for $3.00 on clearance:

 
Here is the same magazine holder less than 1 minute later:


Squeeeeee!  Cute, right?  All thanks to:


Yup!  It's packaging tape by Duck Tape.  I found it in the mailing supplies section of Walmart while Christmas shopping last week.  I think I'm going back for more.  I think this would be great around the sides of my craft table instead of painting stencils like I had originally planned to do.  Ain't nobody got time for that!  lol